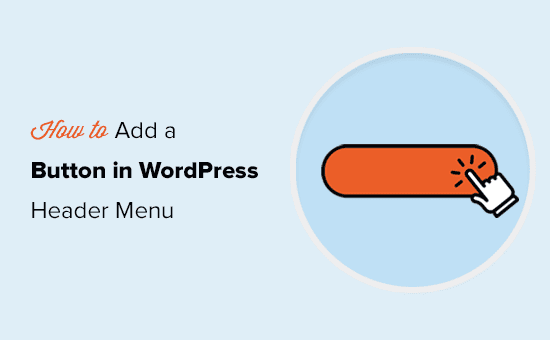


Do you want to add a button in your WordPress header menu?
Adding a button in the header navigation menu lets you create a more noticeable call to action. It can get more clicks to your most important pages and create a better user experience by helping your visitors take action.
In this article, we’ll show you how to easily add a button to your WordPress header menu.
Why Add a Button in WordPress Header Menu?
WordPress navigation menus are usually plain text links that all look the same. In terms of design, all the links are given the same importance and weight.
What if you wanted to add a link to an online order form, a login or sign up page link, or a buy now link? These important calls to action will look just like the rest of the links in the header menu.
Changing important links in your WordPress navigation menu into buttons will make them more noticeable. This helps users easily find them, improving their engagement and experience on your website.
By default, WordPress has options to add buttons in WordPress posts and pages using the Buttons block. However, it does not have a built-in option to add buttons in navigation menus.
Luckily, there is an easy hack to convert any link in your WordPress navigation menu into a button.
That being said, let’s take a look at how to add a button in your WordPress header menu without installing a plugin.
Adding a Button in Your WordPress Header Menu
First, you need to add the link that you want to convert into a button into your WordPress navigation menu.
Simply go to the Appearance » Menus page in your WordPress dashboard and add the link to your navigation menu.
After that, you need to click on the Screen Options button at the top. This will reveal a fly down menu with a bunch of options. You need to check the box next to the ‘CSS Classes’ option.
Now, scroll down to your menu and click to expand the menu item that you want to convert into a button.
You’ll notice a new CSS class option in the menu item settings. Here, you need to enter a class name. You can call this CSS class any unique name you want, but for the sake of this tutorial we’ll call it menu-button.
After entering a name, click on the ‘Save Menu’ button to store your changes.
Now that we have added our own custom CSS class to the menu item, we can design it by adding our own custom CSS code.
Simply go to Appearance » Customize to launch the WordPress theme customizer.
You’ll now see a live preview of your website on the right and a bunch of theme settings in the left column.
Now you need to click on the Additional CSS tab to expand it. This will show you a box where you can add your custom CSS code.
Here, you can copy and paste the following CSS code as a starting point.
As soon as you add the CSS code, the theme customizer will automatically apply it to your website preview, and you will be able to see the changes take affect.
Don’t worry, the changes won’t be live on your website until you click the Publish button.
Feel free to play around with the CSS as much as you like. You can change background color, link text color, add border, and more.
Don’t forget to click on the Publish button to save your changes.
Wasn’t this easy?
You can use this trick to not just add buttons to your header menu, but you can also use it to highlight any link in your WordPress navigation menu.
We hope this article helped you learn how to add a button in your WordPress header menu. Want to see how users interact with your buttons? See our guide on how to track conversion rate in WordPress. Next, check out our list of the best live chat software for small business.
If you liked this article, then please subscribe to our YouTube Channel for WordPress video tutorials. You can also find us on Twitter and Facebook.
This content was originally published here.